The luxurious, creamy sweetness of a well-made coconut milk condensed milk, with its subtle tropical undertones, coats your palate like a comforting hug, transforming any dessert into an exotic delight. It reminds me of those impromptu baking sessions with my aunt, where a simple pantry staple could elevate even the most basic cookies into something truly magical.
What Makes This Recipe Special
This exceptional homemade coconut milk condensed milk stands out for its straightforward preparation, requiring minimal effort for maximum impact. Its unique flavor profile, blending natural sweetness with the creamy richness of coconut, offers a delightful dairy-free alternative to traditional versions. The resulting lusciously thick consistency presents a stunning appearance, perfect for drizzling or mixing, and its incredible versatility means it can elevate everything from coffee to cakes, making it a highly customizable kitchen staple.
The Sweet Revelation: Why Go Homemade?
Ever found yourself mid-recipe, staring down a list of ingredients only to realize you’re missing that one, crucial item? For many, that item is often condensed milk. And if you’re navigating the delicious world of dairy-free living, finding a suitable store-bought alternative can be even more of a quest, sometimes leading to options that are either pricey, loaded with extra ingredients, or just don’t hit the mark. That’s precisely why mastering a quick homemade coconut milk condensed milk recipe is not just a culinary skill, but a superpower.
Think about it. In a world brimming with processed foods, the ability to whip up something so decadent and versatile from scratch is incredibly empowering. It puts you in control of the ingredients, allowing you to sidestep unnecessary additives and adjust the sweetness to your exact preference. Plus, there’s an undeniable satisfaction that comes from creating something so essential and delicious with your own hands. This isn’t just about saving a trip to the grocery store; it’s about embracing a simpler, more mindful approach to what we consume.
Unlocking the Magic of Coconut Milk in Your Kitchen
Coconut milk is a marvel, isn’t it? It’s a tropical hero, bringing its creamy texture and subtle, sweet essence to countless dishes worldwide. In this particular recipe, it’s the undisputed star, providing the rich base that transforms into that thick, luscious consistency we all adore. For those who are lactose intolerant, have dairy allergies, or simply prefer plant-based options, homemade coconut milk condensed milk opens up a whole new realm of dessert possibilities. No longer are you limited to dairy-heavy treats; now, creamy fudge, delectable ice creams, and rich sauces are all within reach.
The beauty of using full-fat coconut milk lies in its natural richness, offering the perfect balance to reduce beautifully into that desirable syrupy texture without additional thickeners. It’s a testament to how simple, natural ingredients create something truly extraordinary, packed with wholesome goodness you prepared yourself.
A Culinary Journey: From Pantry to Perfection
My journey into making a quick homemade coconut milk condensed milk began out of pure necessity, as many great kitchen experiments do. During a last-minute dessert prep, I found myself without traditional condensed milk. A quick pantry raid yielded two cans of full-fat coconut milk, sparking a daring idea: could I make a dairy-free version just as good? The answer was a resounding yes! The initial simmering filled my kitchen with the intoxicating aroma of sweet coconut, promising deliciousness.
What started as a desperate attempt quickly became a beloved staple. The simplicity of the process—just a few ingredients gently simmering on the stove—is incredibly reassuring. There’s no complex chemistry, no obscure techniques, just a little patience and the magic of heat reduction. This recipe for coconut milk condensed milk isn’t just about the end product; it’s about the peaceful, almost meditative process of watching simple ingredients transform into something truly special right before your eyes. It’s a beautiful reminder that culinary greatness often lies in simplicity.
Ingredients
Here’s what you need for this delicious dish:
- **2 cans (13.5 oz each) full-fat coconut milk** This is the foundation of our creamy condensed milk. Using full-fat coconut milk is absolutely crucial for achieving the desired richness and thickness, as lighter versions will not reduce properly, directly contributing to the “Condensed Milk” aspect of our quick homemade coconut milk condensed milk.
- **1/2 cup granulated sugar** This provides the essential sweetness and helps with the caramelization and thickening process, balancing the natural coconut flavor. You can adjust the amount slightly to suit your preference, ensuring the desired “Sweet” profile.
- **1/4 teaspoon salt** A tiny pinch of salt isn’t just for seasoning; it enhances all the other flavors, making the sweetness brighter and the coconut notes more pronounced, preventing the final product from tasting flat.
- **1 teaspoon vanilla extract (optional)** Adding vanilla extract at the end infuses the condensed milk with a warm, aromatic note that complements the coconut beautifully, elevating the overall flavor profile.
All ingredients and quantities can be found directly in the recipe card below.
Step-by-Step Instructions
Simply follow these easy steps to prepare this delicious meal:
Step 1: Combine Ingredients in a Saucepan
In a medium saucepan, combine the full-fat coconut milk, granulated sugar, and salt. Ensure your saucepan is large enough to prevent boil-overs during the simmering process.
Step 2: Dissolve Sugar and Bring to a Boil
Heat the mixture over medium-high heat, stirring occasionally, until the sugar completely dissolves and the liquid comes to a gentle boil. This initial heat helps to fully integrate the sugar and begin the reduction process.
Step 3: Simmer to Reduce and Thicken
Reduce the heat to low and simmer, uncovered, for 45-60 minutes, stirring every 10-15 minutes to prevent sticking to the bottom of the pan and ensure the mixture reduces evenly. Patience is key here as the liquid slowly transforms.
Step 4: Check for Desired Consistency
Continue to simmer until the mixture has thickened and reduced by about half, coating the back of a spoon. Remember, it will thicken further as it cools, so avoid over-reducing it on the stove.
Step 5: Stir in Vanilla Extract (Optional)
Remove the saucepan from the heat. If you are using it, stir in the vanilla extract now. The residual heat will help distribute the flavor evenly without cooking off its delicate notes.
Step 6: Cool and Store Properly
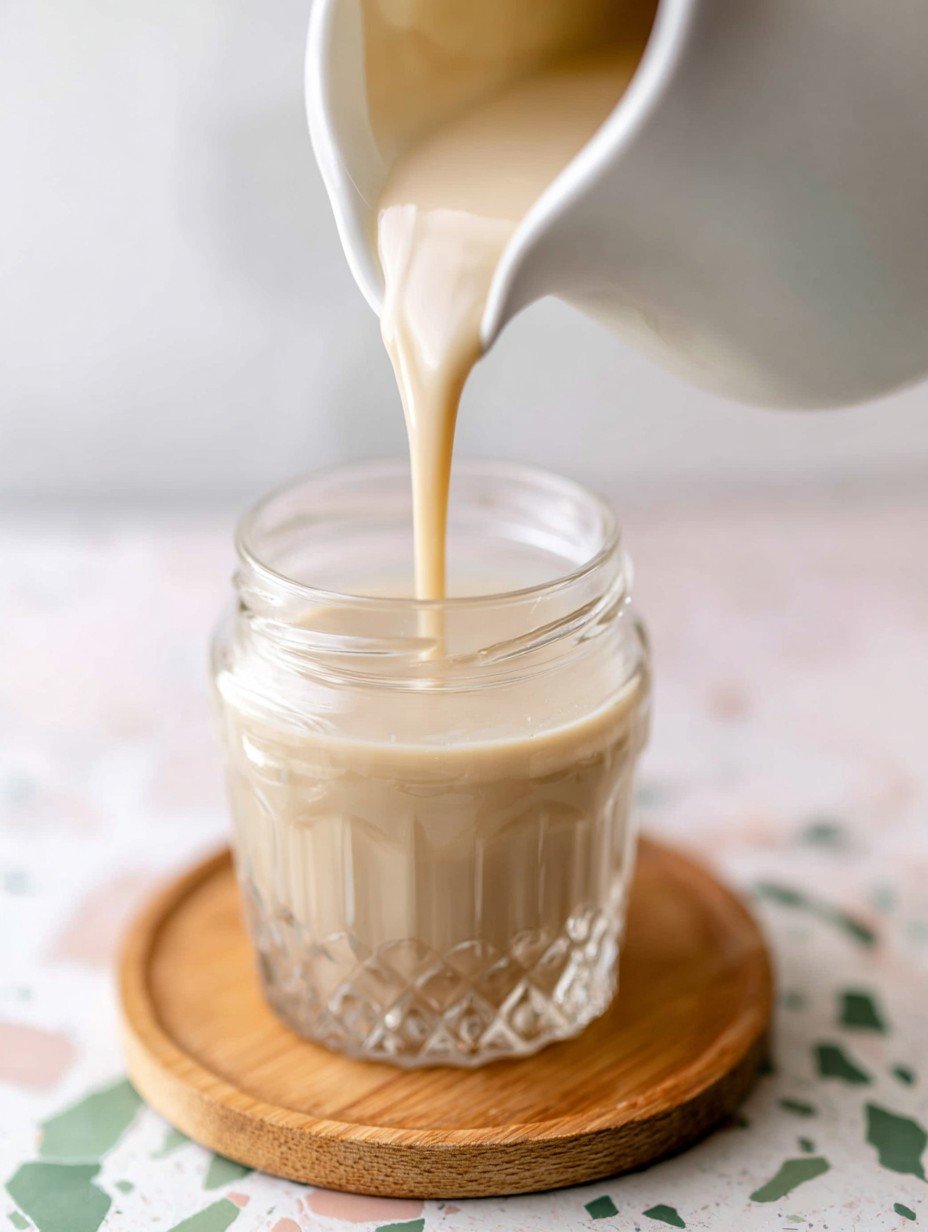
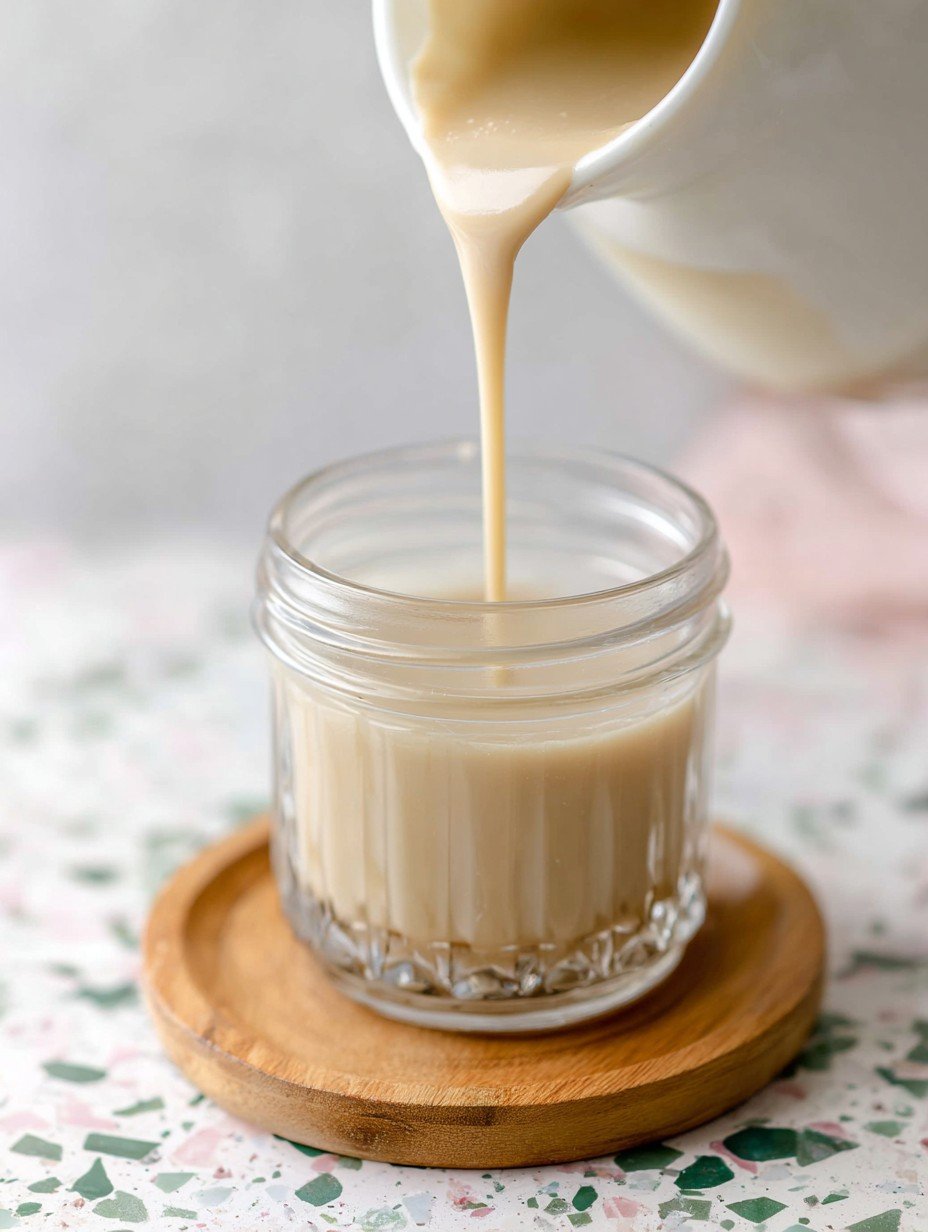
Pour the finished coconut milk condensed milk into a clean, airtight jar and let it cool completely to room temperature before refrigerating. Serve generously over your favorite treats!
Beyond the Jar: Creative Ways to Use Your Homemade Condensed Milk
Now that you’ve got a jar of this glorious quick homemade coconut milk condensed milk sitting in your fridge, gleaming with promise, what do you do with it? The possibilities are practically endless, limited only by your imagination and perhaps the depth of your sweet tooth. This dairy-free wonder isn’t just a substitute; it’s an upgrade for countless culinary creations.
Imagine drizzling it generously over a stack of fluffy pancakes or waffles for a breakfast that feels utterly luxurious. Or stir a spoonful into your morning coffee or tea for a creamy, subtly sweet, and tropical twist that will make you question how you ever lived without it. It’s a game-changer for homemade ice cream, lending an unparalleled creaminess without any dairy. Consider using this delicious homemade condensed milk as a base for dairy-free fudges, no-bake cheesecakes, or even in various baked goods like cookies and bars to add moisture and rich flavor.
This versatile ingredient can also elevate savory dishes with a hint of sweetness, such as in certain curries or glazes for roasted vegetables. Its unique flavor profile complements a wide array of ingredients, from berries and citrus to chocolate and nuts. Don’t be afraid to experiment! A little goes a long way in transforming ordinary dishes into extraordinary experiences.
Pro Tips for the Perfect Batch Every Time
Achieving that perfect, lusciously thick consistency with your coconut milk condensed milk is incredibly satisfying, and with a few insider tips, you’ll be a pro in no time. Firstly, and this is critical, always use full-fat coconut milk. Those “light” versions just won’t cut it; they lack the necessary fat content to properly reduce and thicken. Think of full-fat as your trusty, non-negotiable sidekick in this culinary adventure.
Secondly, patience truly is a virtue here. While it’s a quick homemade coconut milk condensed milk recipe in terms of effort, the simmering time is essential for reduction. Don’t rush it! Keep the heat low and steady, and stir every 10-15 minutes. This prevents scorching at the bottom of the pan and ensures an even reduction. As the mixture cools, it will thicken considerably, so resist the urge to over-reduce it on the stove. If it looks a little thin when hot, trust the process; it will reach its glorious consistency once chilled.
Finally, for those rare moments of separation during cooling, a tiny pinch of baking soda can work wonders. This little trick helps maintain a smooth, emulsified texture. Store your finished product in an airtight container in the refrigerator for up to two weeks, ensuring you always have this sweet secret weapon at hand.
Troubleshooting Your Tropical Sweetener
Even the most seasoned home cooks encounter a hiccup now and then. If your homemade coconut milk condensed milk isn’t thickening as much as you’d like, double-check that you used full-fat coconut milk. If you did, simply continue simmering it on low heat, uncovered, for a little longer, stirring frequently. Remember, the reduction process can vary slightly depending on your stove and saucepan.
If you find that your mixture is separating during cooling, don’t despair! This can sometimes happen due to the fat content in the coconut milk. Gently reheating it over very low heat while whisking can often bring it back together. A tiny pinch of baking soda added during the reheating process can also help stabilize the emulsion and prevent future separation. These small adjustments ensure your quick homemade coconut milk condensed milk turns out perfectly every single time, ready to sweeten your world.
Nutritional Snapshot
Understanding what goes into your food is important, and this quick homemade coconut milk condensed milk offers a delightful, dairy-free alternative with a clear nutritional profile.
- **Servings:** Approximately 1.5 cups
- **Per 2 tablespoons:**
- **Calories:** 120
- **Protein:** 1g
- **Carbs:** 15g
- **Fat:** 7g
This nutritional breakdown provides a transparent look at the energy and macronutrients you’re enjoying with each delicious serving. It allows you to integrate this sweet treat into your diet mindfully, knowing exactly what you’re consuming.
Embrace the Sweetness, Dairy-Free Style
There’s something truly liberating about crafting staples like this quick homemade coconut milk condensed milk right in your own kitchen. It empowers you to take control of your ingredients, caters to dietary preferences, and delivers an incredible depth of flavor that store-bought versions often struggle to match. This simple recipe proves that healthy, dairy-free alternatives don’t have to compromise on taste or texture.
So, gather your cans of full-fat coconut milk, your sugar, and a pinch of salt. Set aside an hour or so, put on your favorite podcast or music, and enjoy the meditative process of watching these few ingredients transform into something truly magical. Whether you’re a seasoned plant-based enthusiast or just looking to explore new culinary horizons, this homemade condensed milk is a delightful addition to your recipe repertoire. Get ready to sweeten your life, one delicious, dairy-free spoonful at a time!
Perfecting the Cooking Process
To achieve the perfect consistency for this Quick Homemade Coconut Milk Condensed Milk, ensure you simmer it gently and uncovered. Regular stirring every 10-15 minutes is key to prevent sticking and encourage even reduction. Don’t rush the 45-60 minute simmering time; patience yields the ideal thick, creamy result that will continue to thicken upon cooling.
Add Your Personal Touch
Personalize your Quick Homemade Coconut Milk Condensed Milk effortlessly. Adjust the granulated sugar amount to achieve your perfect sweetness level. For a pure coconut taste, simply omit the optional vanilla extract in the final step. This lets the subtle coconut undertones truly shine.
Storage & Reheating
To maintain its luscious, thick consistency, pour your Quick Homemade Coconut Milk Condensed Milk into an airtight jar once fully cooled. Refrigerate it for up to two weeks. It will thicken significantly as it chills, so avoid over-reduction on the stove for an ideal, pourable texture.
Helpful Chef Tips
The first time I tasted this coconut milk condensed milk, I swore it was pure magic. Its rich, creamy sweetness transformed my coffee, proving simple homemade treats bring immense joy.
Final Thoughts
Bringing this delightful creation into your kitchen is a true pleasure. The rich, creamy texture and subtle sweetness of this homemade coconut milk condensed milk will elevate any dessert or beverage, offering a wonderfully dairy-free alternative. Imagine the aroma filling your home as it simmers gently, promising pure deliciousness. This Quick Homemade Coconut Milk Condensed Milk is not just an ingredient; it’s an invitation to elevate your culinary adventures with ease and flavor. Don’t wait – dive into making a batch today and savor the difference!
Print
Quick Homemade Coconut Milk Condensed Milk
- Total Time: 0 hours
- Yield: Approximately 1.5 cups 1x
Description
This homemade coconut milk condensed milk offers a rich, creamy texture and a naturally sweet flavor with subtle coconut undertones. Prepared by gently simmering a few simple ingredients, it reduces to a thick, luscious consistency. It serves as an excellent dairy-free alternative to traditional condensed milk, perfect for enhancing desserts, beverages, and various sweet treats.
Ingredients
- 2 cans (13.5 oz each) full-fat coconut milk
- 1/2 cup granulated sugar
- 1/4 teaspoon salt
- 1 teaspoon vanilla extract (optional)
Instructions
- In a medium saucepan, combine the full-fat coconut milk, granulated sugar, and salt.
- Heat over medium-high heat, stirring occasionally, until the sugar dissolves and the mixture comes to a gentle boil.
- Reduce the heat to low and simmer, uncovered, for 45-60 minutes, stirring every 10-15 minutes to prevent sticking and ensure even reduction.
- Continue to simmer until the mixture has thickened and reduced by about half, coating the back of a spoon. It will thicken further as it cools.
- Remove from heat. If using, stir in the vanilla extract.
- Pour the condensed milk into a clean, airtight jar and let it cool completely to room temperature before refrigerating.
Notes
For best results, use full-fat coconut milk as light versions will not thicken properly.
The condensed milk will thicken considerably as it cools, so do not over-reduce it on the stove.
Store in an airtight container in the refrigerator for up to 2 weeks.
Adjust the sweetness to your preference by adding more or less sugar.
A pinch of baking soda can help prevent separation if you notice it occurring during cooling.
- Prep Time: 5 minutes
- Cook Time: 45-60 minutes
Nutrition
- Calories: 120 (per 2 tablespoons)
- Fat: 7g (per 2 tablespoons)
- Carbohydrates: 15g (per 2 tablespoons)
- Protein: 1g (per 2 tablespoons)
FAQs
Why is full-fat coconut milk recommended for this recipe?
Using full-fat coconut milk is crucial for achieving the desired consistency and richness in this recipe. The notes specify that light versions simply will not thicken properly, impacting the final product’s texture. Full-fat coconut milk contains the necessary fat content to reduce beautifully into a thick, luscious condensed milk as it simmers. This ensures your homemade alternative has the creamy mouthfeel and substantial body needed for various culinary applications, just like traditional condensed milk. Skipping this detail could lead to a less satisfying, thinner result.
How do I know when my homemade condensed milk has reduced enough?
Determining when your mixture has reduced sufficiently is key. The instructions advise simmering until the liquid has thickened and reduced by about half, coating the back of a spoon. It’s important to remember that it will thicken considerably further as it cools, as mentioned in the notes. Therefore, avoid over-reducing it on the stove. Once it visibly coats a spoon and has noticeably decreased in volume, it’s likely ready to be removed from the heat. This careful observation will ensure the perfect consistency after chilling.
What is the best way to store this coconut milk condensed milk?
Proper storage is essential to maintain the freshness and quality of your homemade creation. After you’ve stirred in the vanilla extract (if using) and poured it into a clean, airtight jar, allow the condensed milk to cool completely to room temperature. Once cooled, store it in the refrigerator. The notes indicate that it can be kept in an airtight container in the refrigerator for up to two weeks. This storage method ensures it remains fresh and ready to use in your favorite recipes.
Can the sweetness of the condensed milk be adjusted?
Absolutely! The recipe offers flexibility for personal taste preferences regarding sweetness. According to the notes, you can adjust the sweetness by adding more or less granulated sugar than the specified 1/2 cup, tailoring it to your preference. This allows you to customize the finished product, making it perfect for your specific dessert or drink. Whether you prefer a slightly less sweet option or a richer, more sugary treat, you have the control to achieve your ideal flavor balance.