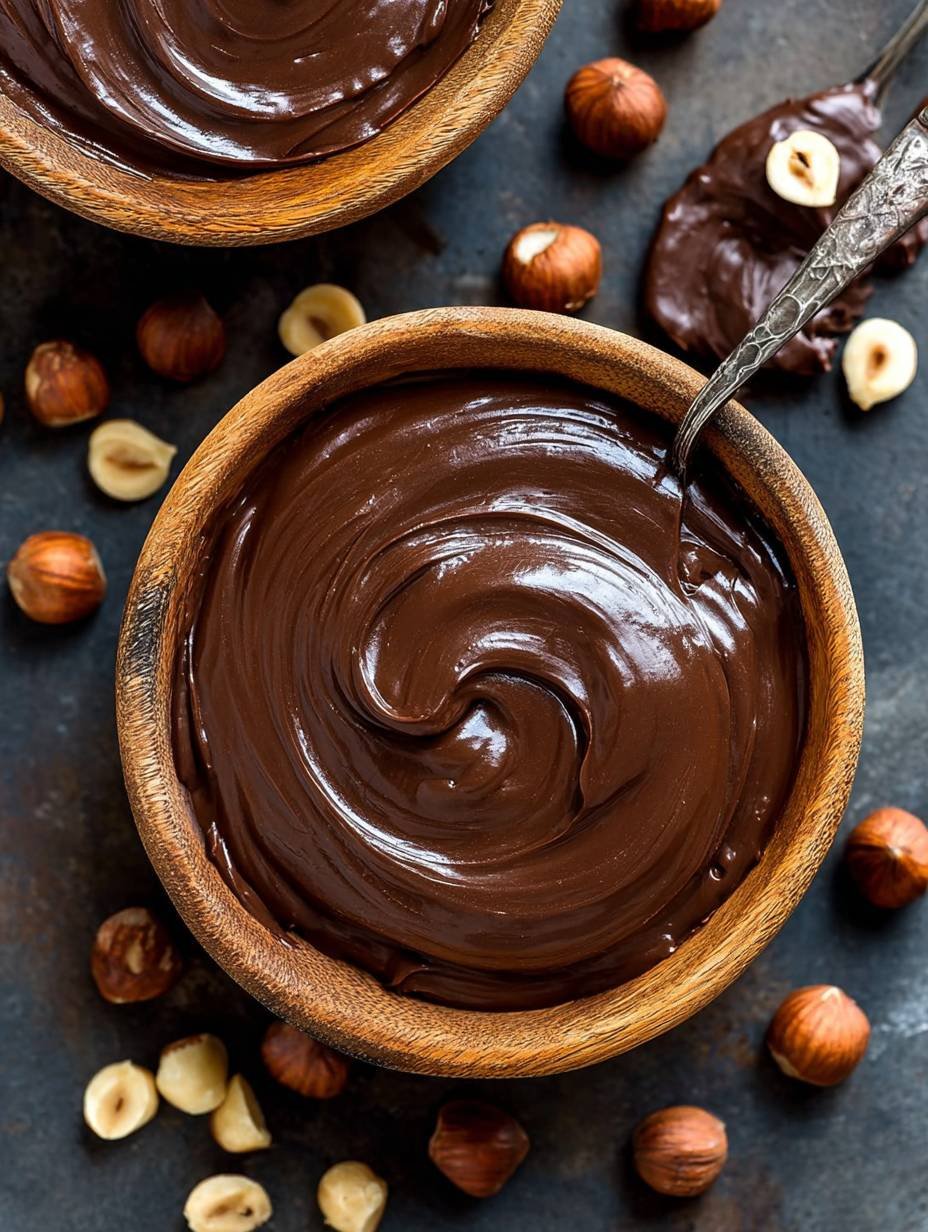
Imagine that velvety smooth, intensely chocolatey, and delightfully nutty sensation melting on your tongue, a truly blissful moment that transforms any snack into an indulgence. This irresistible Dreamy Homemade Chocolate Hazelnut Spread delivers exactly that, promising a gourmet experience right from your kitchen.
I still remember my grandma making something similar from scratch, a magical concoction that always smelled like pure joy and instantly cured any childhood blues. Back then, I thought it was wizardry; turns out, it was just a little patience and a lot of love, something I’m thrilled to share with you today.
Reasons Why You’ll Love This Recipe
This delightful recipe offers an unbeatable combination of ease and gourmet sophistication, making it an instant favorite in any household. Its preparation is surprisingly simple, primarily involving a food processor and minimal fuss, which means you can whip up a batch without breaking a sweat. The unique flavor profile, boasting deeply toasted hazelnuts paired with rich dark chocolate and a hint of vanilla, far surpasses any store-bought alternative, providing a genuinely luxurious taste experience. The resulting spread boasts a stunning, glossy appearance, a rich, dark brown hue that looks utterly inviting. Beyond its inherent deliciousness, this spread is incredibly versatile, perfect on toast, stirred into oatmeal, drizzled over fruit, or even as a filling for baked goods, offering endless customization possibilities.
Ingredients
Here’s what you need for this delicious dish:
- **Raw hazelnuts** These are the nutty heart of this irresistible spread, providing the essential flavor and texture. Toasting them properly is key to unlocking their deep, aromatic notes and ensuring they blend into that “Dreamy” creamy butter.
- **Good quality dark chocolate, chopped** The backbone that gives this spread its deep, chocolatey soul and contributes significantly to the velvety texture once melted. Chopping it finely helps it melt smoothly and evenly.
- **Powdered sugar** This ensures a delicate sweetness that dissolves beautifully into the spread, contributing to its smooth consistency without any graininess. You can adjust this to your preferred level of sweetness.
- **Unsweetened cocoa powder** Added to deepen that glorious chocolate flavor and rich color, creating a more intense, complex taste experience that highlights the “Chocolate Hazelnut” aspect.
- **Neutral oil (such as grapeseed or sunflower oil)** The secret ingredient to achieving that truly “Dreamy,” silky texture and ensuring perfect spreadability, helping the hazelnuts transition from a paste to a smooth butter.
- **Vanilla extract** A hint of warmth and aromatic complexity, which beautifully complements the chocolate and hazelnut notes.
- **Salt** A crucial ingredient that perfectly balances the sweetness, amplifies the chocolate notes, and brings out the inherent nuttiness of the hazelnuts, making the entire flavor profile sing.
All ingredients with their exact quantities can be found in the recipe card below.
Step-by-Step Instructions
Here’s a simple guide to help you prepare this delicious recipe:
Step 1: Toasting the Hazelnuts to Perfection
First, preheat your oven to 350°F (175°C). Spread your 1 ½ cups of raw hazelnuts in a single, even layer on a baking sheet. Place the baking sheet in the preheated oven and toast for 10-12 minutes. Keep a close eye on them; you want them fragrant and their skins slightly cracked, not burnt, to achieve the best flavor for your homemade chocolate hazelnut butter.
Step 2: Unrobing Your Nuts (Hazelnut Edition)
Once the hazelnuts are perfectly toasted, carefully transfer the hot hazelnuts from the baking sheet to a clean kitchen towel. Fold the towel over the nuts and rub vigorously. This gentle abrasion will help remove as much of their papery skins as possible. Don’t worry if a few stubborn bits remain; simply discard the loosened skins after this process.
Step 3: The Nut Butter Transformation
Place all the skinned hazelnuts into a high-speed food processor or a powerful blender. Begin processing, and here’s where patience becomes your best friend. You’ll observe the hazelnuts transform from coarse crumbs to a thick paste, and eventually, over 5-10 minutes, into a wonderfully smooth, creamy butter. Make sure to scrape down the sides occasionally to ensure everything is evenly processed, coaxing out that dreamy texture.
Step 4: Melting Moments of Chocolate
While your hazelnuts are diligently processing, it’s time to prepare your 1 cup of chopped dark chocolate. You can melt this using a microwave, heating in 30-second intervals and stirring thoroughly between each until it’s perfectly smooth. Alternatively, melt it gently over a double boiler, stirring until completely fluid and glossy.
Step 5: The Grand Assembly
Now, with your hazelnut butter smooth and your chocolate melted, it’s time to combine forces. Add the melted chocolate, ½ cup of powdered sugar, ¼ cup of unsweetened cocoa powder, 2 tablespoons of neutral oil, 1 teaspoon of vanilla extract, and ¼ teaspoon of salt directly into the food processor with the hazelnut butter.
Step 6: The Final Whisk (or Process)
Process all the ingredients together for another 2-3 minutes. This final blend is crucial for ensuring everything is thoroughly combined, resulting in a completely smooth, uniform, and truly dreamy chocolate hazelnut spread. Give it a moment to ensure there are no lingering lumps.
Step 7: The Big Reveal and Storage
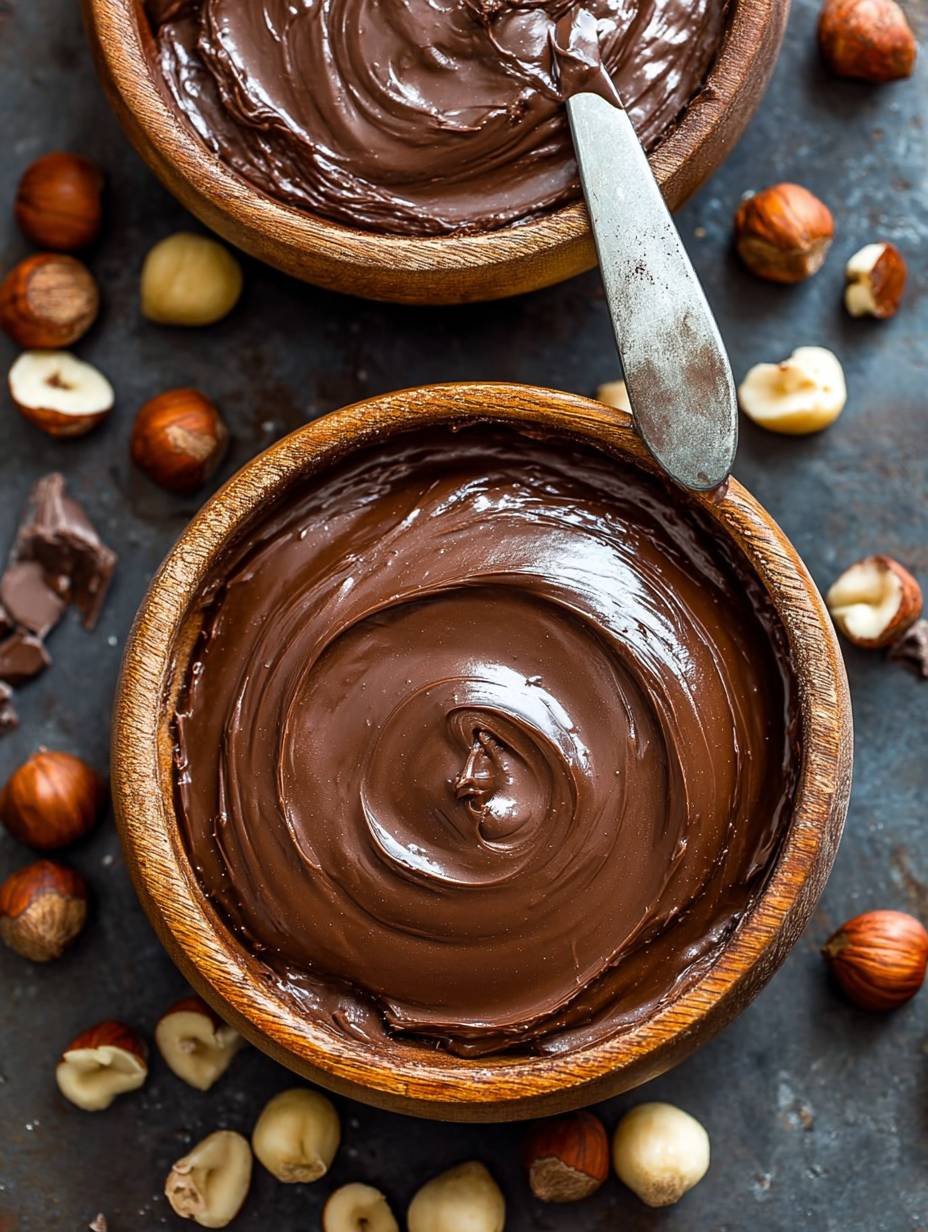
Carefully transfer your freshly made homemade chocolate hazelnut spread to an airtight jar. You’ll notice it will thicken slightly as it cools to room temperature, achieving that perfect, spreadable consistency. Serve immediately on warm toast or fresh fruit, or store for later enjoyment.
Beyond the Jar: Creative Ways to Enjoy Your Spread
So, you’ve just whipped up a batch of the most delicious homemade chocolate hazelnut spread known to humanity. Now what? The possibilities, my friends, are as endless as my eternal quest for the perfect breakfast pastry. This versatile delight isn’t just for smearing on toast, although let’s be honest, that’s a perfectly noble and delicious pursuit. This isn’t your average grocery store find; it’s a gourmet ingredient waiting to elevate everyday eats.
Think about taking your morning routine up a notch. A dollop swirled into your oatmeal transforms a humble bowl into a decadent treat. Imagine it nestled between two slices of a ripe banana, creating a naturally sweet and satisfying snack. For those with a baking bug, this rich hazelnut spread is an absolute game-changer. Use it as a luscious filling for crepes, a decadent topping for pancakes, or even incorporate it into cookie dough for an extra layer of nutty chocolate flavor. It’s also surprisingly good as a dip for apple slices or strawberries, adding a touch of elegance to a simple fruit platter. This spread also makes for fantastic homemade gifts, if you can bear to part with it. Just scoop it into a pretty jar, tie a ribbon, and you’ve got a thoughtful present that tastes like pure affection. Every spoonful of this velvety chocolate hazelnut creation promises a moment of sheer bliss, proving that a little effort in the kitchen can lead to truly extraordinary results.
The Secret to That Dreamy Texture: Why Patience Pays Off
Achieving the perfect, dreamy texture for your homemade chocolate hazelnut spread is less about culinary magic and more about good old-fashioned patience, especially during that initial blending stage. The transformation of raw hazelnuts into a smooth butter in your food processor is nothing short of fascinating, but it doesn’t happen instantaneously. When you first start processing the toasted hazelnuts, they’ll quickly break down into coarse crumbs. It might seem like they’ll never get smooth, and you might even be tempted to add liquid. Resist! That’s the crucial part. The nuts themselves contain enough natural oils to create a butter.
As you continue to process, the oils will slowly release, turning the crumbs into a thicker, pasty consistency. Keep going! Eventually, with continuous blending and occasional scraping of the sides of the bowl, the paste will loosen up and magically transform into that gloriously creamy, pourable hazelnut butter. This could take anywhere from 5 to 10 minutes, depending on the power of your food processor. This diligent processing is what gives your chocolate hazelnut spread its exquisite, velvety mouthfeel, which is why it truly earns the “dreamy” description. Don’t rush this step; it’s the foundation for the entire spread’s texture and overall success. This dedication ensures your spread is not just tasty, but also boasts that luxurious, spreadable consistency we all crave.
Why Homemade Always Wins: Flavor and Freshness
In a world filled with endless options on grocery store shelves, you might wonder if making your own Dreamy Homemade Chocolate Hazelnut Spread is truly worth the effort. Let me tell you, it’s a resounding yes, and for reasons that go far beyond just bragging rights (though those are pretty sweet too). The primary advantage lies in the unparalleled flavor and freshness. When you make this hazelnut chocolate spread yourself, you’re using freshly toasted hazelnuts. That toasting step is a game-changer, intensifying the nut’s natural oils and giving it a depth of flavor that commercially processed nuts often lack. It brings out a warm, complex, almost caramel-like note that perfectly complements the rich chocolate.
Furthermore, you have complete control over the quality of your ingredients. Opting for good quality dark chocolate, as recommended, makes a significant difference in the final taste, providing a luxurious, nuanced chocolate experience. You’re also skipping any artificial flavors, preservatives, or excessive sugars that are often found in store-bought versions. This means your homemade hazelnut spread is not only fresher but also tastes cleaner and more authentic. The vanilla extract and a pinch of salt are not just additions; they are flavor amplifiers that balance the sweetness and deepen the nutty and chocolate notes, a precision often missed in mass-produced products. The result is a richer, more intensely flavored, and profoundly satisfying spread that highlights the true essence of chocolate and hazelnut in every spoonful. Trust me, once you taste this freshly made version, there’s no going back to the jarred alternatives.
Nutritional Goodness of Your Chocolate Hazelnut Delight
While indulging in something as delicious as Dreamy Homemade Chocolate Hazelnut Spread feels like a treat, it’s comforting to know that it also offers some nutritional benefits when enjoyed in moderation. Crafted with wholesome ingredients like hazelnuts and dark chocolate, this spread isn’t just about satisfying your sweet tooth; it’s also about providing a little goodness.
Hazelnuts, the star of this recipe, are packed with healthy fats, fiber, and vitamin E. These healthy fats are crucial for energy and can support heart health. Dark chocolate, especially good quality varieties, is known for its antioxidants, which can help combat free radicals in the body. The small amount of unsweetened cocoa powder further boosts this antioxidant profile, adding to the richness without extra sugar. Each 2-tablespoon serving of this delightful hazelnut chocolate spread contains approximately 180 Calories, providing a good energy boost. It also offers 3g of Protein, contributing to satiety and muscle repair, and 18g of Carbs, supplying quick fuel. With 12g of Fat, primarily from the healthy fats in hazelnuts, it contributes to the spread’s creamy texture and flavor. This balanced nutritional profile makes it a more wholesome choice compared to many highly processed spreads. Remember, this is a delicious homemade treat, so enjoying it thoughtfully is key.
Tips for Perfecting Your Spread and Storage Solutions
Creating your ideal Dreamy Homemade Chocolate Hazelnut Spread is an art, and a few expert tips can help you achieve perfection every time. First and foremost, pay close attention to your hazelnuts during the toasting stage. Ensuring they are well toasted, golden, and fragrant is vital for releasing their deepest, most complex flavors, which are the essence of this delightful hazelnut chocolate spread. However, be vigilant and avoid burning them, as burnt nuts can impart a bitter taste that will permeate the entire batch.
Another crucial tip, as highlighted earlier, involves patience when processing the hazelnuts into butter. This step truly cannot be rushed. The hazelnuts need time to release their natural oils and transform from crumbs to a thick paste, and eventually into that wonderfully smooth, pourable butter. Don’t be tempted to add extra liquid too early, as this can disrupt the texture.
When it comes to sweetness, this recipe is designed to be adaptable. The suggested amount of powdered sugar provides a balanced sweetness, but your preference might differ. Feel free to adjust the quantity to your liking; a little more or less can tailor the spread perfectly to your palate. For an even richer chocolate flavor, consider using a dark chocolate with a higher cocoa percentage. This will intensify the chocolate notes and provide a more sophisticated taste.
Finally, proper storage is key to enjoying your homemade chocolate hazelnut spread for as long as possible. Store the spread in an airtight jar at room temperature for up to two weeks, where it will maintain its creamy consistency. If you need to keep it longer, you can store it in the refrigerator. Just be aware that chilling will cause the spread to firm up considerably. If you prefer a softer texture after refrigeration, simply let it sit at room temperature for about 30 minutes before serving, or gently warm it slightly. These simple tips will ensure every batch of your homemade hazelnut delight is as delicious and “dreamy” as the last.
Perfecting the Cooking Process
The key to a truly incredible batch of this delightful spread lies in the sequence. Ensure your hazelnuts are perfectly toasted and skinned before processing; this develops their deep flavor. Melt your dark chocolate simultaneously, ready to be incorporated into the freshly made hazelnut butter for seamless blending and a silky smooth finish.
Add Your Personal Touch
Customize your dreamy homemade chocolate hazelnut spread by adjusting the ingredients. For a richer chocolate experience, opt for a higher percentage dark chocolate. If you prefer a less sweet spread, simply reduce the amount of powdered sugar. You can also experiment with different neutral oils like grapeseed or sunflower for subtle flavor nuances.
Storage & Reheating
To maintain the irresistible spreadability of your homemade chocolate hazelnut spread, store it at room temperature for up to two weeks. If refrigerated for longer storage, remember it will firm up considerably. Allow it to come to room temperature or gently warm it before serving to restore its luscious, velvety texture.
Helpful Chef Tips
I remember the first time I made this spread; the aroma of toasted hazelnuts and melting chocolate filled my kitchen, transporting me back to childhood memories of European bakeries. It was pure magic!
Final Thoughts
Bringing the magic of a truly luscious and velvety spread into your kitchen is incredibly rewarding. This homemade chocolate hazelnut delight offers a deep, nutty chocolate flavor and a wonderfully smooth texture that store-bought versions simply can’t match. It’s perfect for elevating your breakfast toast, drizzling over ice cream, or simply enjoying by the spoonful. Imagine the rich aroma filling your home as you craft this delightful treat. So, why wait? Gather your ingredients and create your very own batch of this exquisite chocolate hazelnut spread today. You’ll be amazed at how simple it is to achieve such a luxurious result, ready to transform any ordinary moment into something special.
Print
Dreamy Homemade Chocolate Hazelnut Spread
- Total Time: 25 minutes
- Yield: Approximately 2 cups 1x
Description
This recipe yields a luscious, velvety chocolate hazelnut spread, crafted with toasted hazelnuts and rich cocoa. Its smooth texture and deep, nutty chocolate flavor make it a versatile addition to breakfasts or desserts. The preparation involves blending ingredients to achieve a creamy consistency, offering a delightful homemade alternative.
Ingredients
- 1 ½ cups (about 200g) raw hazelnuts
- 1 cup (about 170g) good quality dark chocolate, chopped
- ½ cup (about 60g) powdered sugar
- ¼ cup (about 25g) unsweetened cocoa powder
- 2 tablespoons neutral oil (such as grapeseed or sunflower oil)
- 1 teaspoon vanilla extract
- ¼ teaspoon salt
Instructions
- Preheat oven to 350°F (175°C). Spread hazelnuts in a single layer on a baking sheet. Toast for 10-12 minutes, or until fragrant and skins are slightly cracked.
- Transfer the hot hazelnuts to a clean kitchen towel. Fold the towel over and rub vigorously to remove as much skin as possible. Discard the loosened skins.
- Place the skinned hazelnuts in a high-speed food processor or blender. Process for 5-10 minutes, scraping down the sides occasionally, until the hazelnuts transform into a smooth, creamy butter. This process requires patience.
- While the hazelnuts are processing, melt the chopped dark chocolate. This can be done in a microwave in 30-second intervals, stirring between each, or over a double boiler until smooth.
- Add the melted chocolate, powdered sugar, cocoa powder, neutral oil, vanilla extract, and salt to the hazelnut butter in the food processor.
- Process again for another 2-3 minutes, until all ingredients are thoroughly combined and the spread is completely smooth and uniform.
- Transfer the homemade chocolate hazelnut spread to an airtight jar. It will thicken slightly as it cools.
Notes
Ensure hazelnuts are well toasted for the best flavor, but avoid burning them.
Patience is key when processing hazelnuts; they will go from crumbs to a thick paste, then to a smooth butter.
Adjust the amount of powdered sugar to your preferred sweetness level.
For a richer chocolate flavor, use a higher percentage dark chocolate.
Store the spread at room temperature for up to 2 weeks, or in the refrigerator for longer (it will firm up when chilled).
- Prep Time: 15 minutes
- Cook Time: 10 minutes
Nutrition
- Calories: 180 (per 2 tablespoons)
- Fat: 12g (per 2 tablespoons)
- Carbohydrates: 18g (per 2 tablespoons)
- Protein: 3g (per 2 tablespoons)
FAQs
Why is toasting the hazelnuts important for flavor?
Toasting raw hazelnuts is a crucial step for developing their full, rich, nutty flavor, which significantly enhances the overall taste of your homemade spread. When toasted in the oven at 350°F (175°C) for about 10-12 minutes, the natural oils in the hazelnuts are released, intensifying their aroma and depth. After toasting, transferring the hot hazelnuts to a clean kitchen towel and vigorously rubbing them helps remove their skins. While removing every single bit of skin might be tricky, getting most of it off is important, as the skins can add a slightly bitter taste and a less smooth texture to your finished chocolate hazelnut creation.
How long does it take for hazelnuts to become a smooth butter?
Processing the skinned hazelnuts into a smooth butter in a high-speed food processor or blender can take anywhere from 5 to 10 minutes, and indeed, patience is absolutely essential during this stage. Initially, the hazelnuts will break down into coarse crumbs, then transition into a thick, dry paste. As the natural oils continue to release from the nuts through the friction of processing, the paste will gradually become smoother and more liquid-like, eventually transforming into a luscious, creamy hazelnut butter. It’s important to keep scraping down the sides of your processor occasionally to ensure all the nuts are evenly blended, achieving that perfect velvety consistency for your delightful spread.
Is it possible to adjust the sweetness of the spread?
Yes, absolutely! The recipe calls for ½ cup (about 60g) of powdered sugar, but one of the wonderful benefits of making this chocolate hazelnut spread at home is the ability to tailor it precisely to your taste preferences. If you prefer a less sweet spread, you can start by adding a quarter cup of powdered sugar in step 5, then taste a small amount after processing. If you desire a sweeter spread, you can gradually add an additional tablespoon or two of powdered sugar while the food processor is running in step 6, until it reaches your desired sweetness level. This allows you to customize the balance between the rich chocolate and nutty hazelnut flavors perfectly.
What is the best way to store this homemade spread, and how does cooling affect it?
Once you’ve made your luscious chocolate hazelnut spread, transfer it to an airtight jar for storage. You have a couple of options depending on how quickly you plan to enjoy it. It can be stored at room temperature for up to two weeks, which will keep it relatively soft and easily spreadable. If you need to store it for a longer period, you can refrigerate it. However, it’s important to note that the spread will firm up considerably when chilled due to the chocolate and hazelnut butter. If you prefer a softer consistency after refrigeration, simply let it sit at room temperature for a while before serving, allowing it to slightly soften.