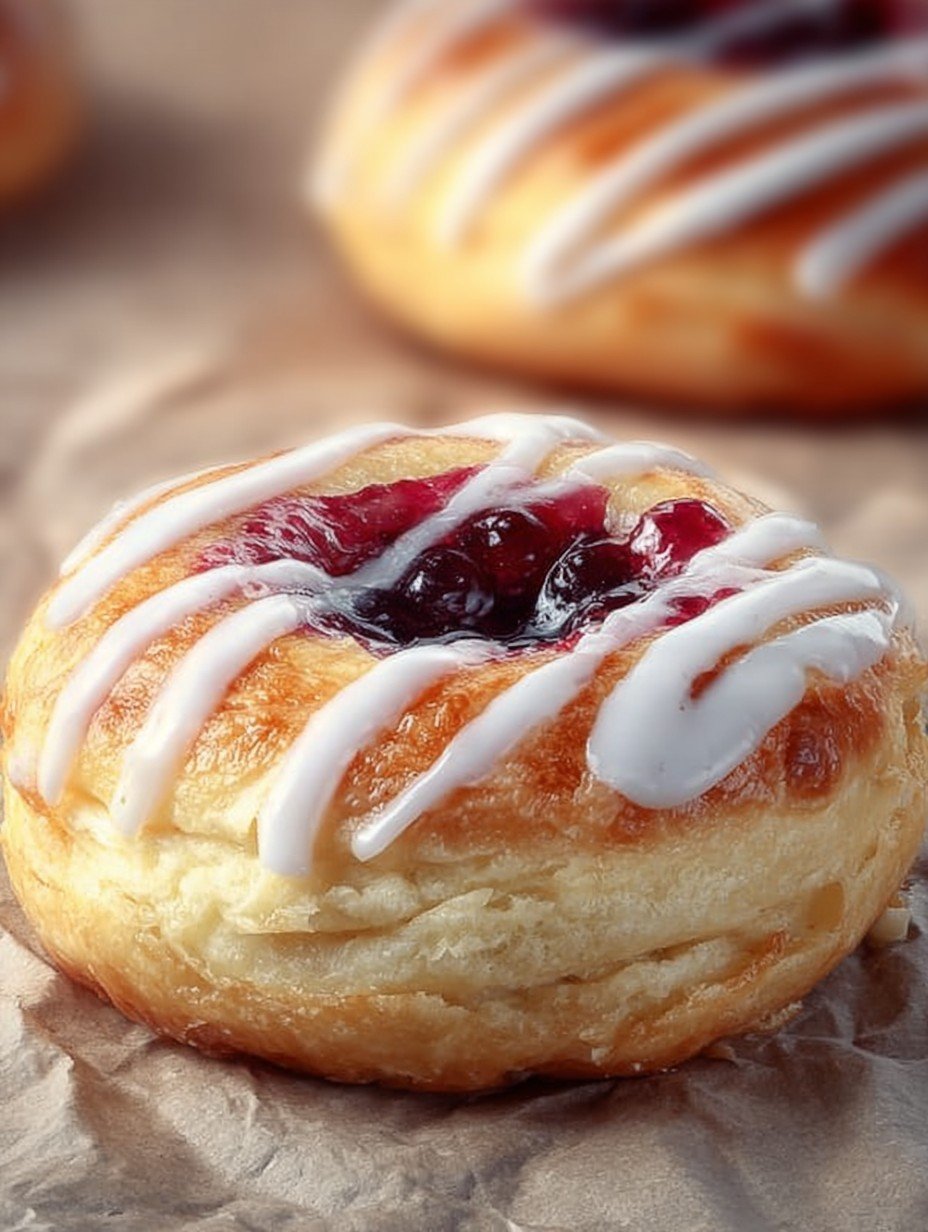
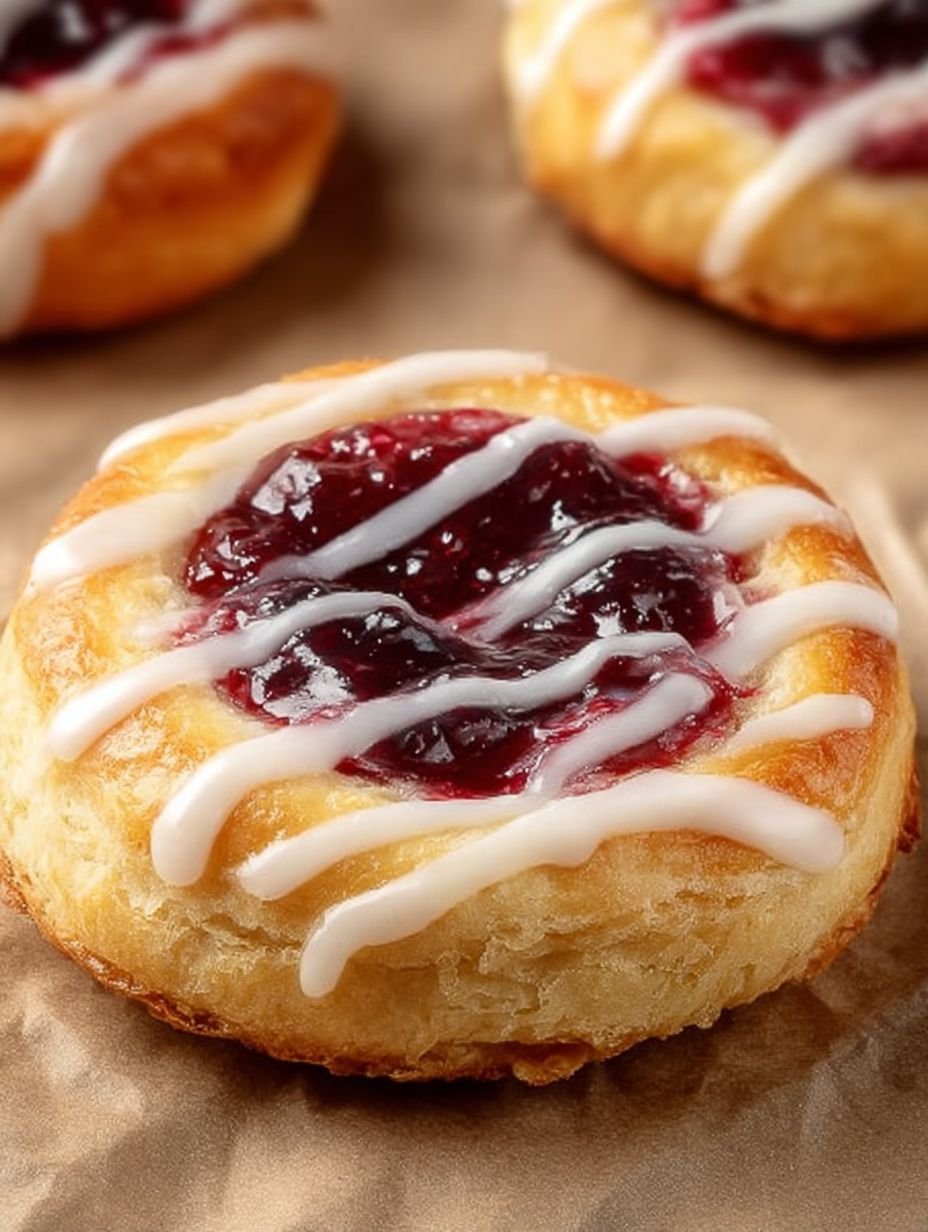
Imagine a world where golden, flaky pastry cradles a vibrant, sweet fruit filling, each bite offering a delightful contrast of delicate crispness and a soft, warm berry center. This is not a dream, but the reality of homemade Berry Danish Pastries, a treat so inviting, you’ll wonder why you ever bought them from a bakery.
My fondest memories often involve food, and Berry Danish Pastries take me straight back to sleepy Saturday mornings, the smell of butter and berries wafting through the house, turning an ordinary day into a cozy, memorable event.
Reasons Why You’ll Love This Recipe
You’re in for a real treat with these simple Berry Danish Pastries. The preparation is surprisingly easy, making them accessible for home cooks eager to explore the world of laminated dough without the usual fuss. Each pastry boasts a unique flavor profile, blending the rich, buttery notes of the golden crust with the bright, sweet-tart burst of mixed berries. Beyond taste, their stunning pinwheel appearance makes them a beautiful addition to any brunch table or dessert spread, truly a feast for the eyes. Plus, these pastries offer fantastic versatility, allowing you to customize the berry filling to your heart’s content, making them a perfect canvas for your culinary creativity.
Ingredients
Here’s what you need for this delicious dish:
- **Active dry yeast** This essential ingredient gives your pastry its lift, creating that wonderfully airy, fluffy texture. Always check the expiration date to ensure it’s vigorous and ready to foam up.
- **Warm milk (105-115°F / 40-46°C)** The perfect temperature for waking up your yeast, allowing it to bloom beautifully and start the magic of fermentation.
- **Granulated sugar** A touch of sweetness that not only feeds the yeast but also balances the flavors in both the dough and the vibrant berry filling.
- **Large egg** Acts as a binder in the dough, contributing to structure and richness, and later provides a golden sheen to your pastries when used in the egg wash.
- **Salt** Crucial for enhancing all the other flavors in the dough and helping to control the yeast activity, ensuring a perfectly seasoned pastry.
- **All-purpose flour** The structural backbone of our Danish dough, providing the necessary gluten development for that signature chewiness and flakiness.
- **Unsalted butter, cold and cut into ½-inch pieces** This is the secret to a supremely flaky Danish pastry. Keeping the butter cold ensures it creates distinct layers within the dough during folding, rather than simply mixing in.
- **Mixed berries (fresh or frozen)** The star of our filling, providing the “berry” in our Simple Berry Danish Pastries. Use ripe, firm fresh berries for the best flavor, or good quality frozen berries without added sugar. They bring that vibrant, sweet-tart burst.
- **Cornstarch** A key thickening agent for our fruit filling, ensuring it sets beautifully without being watery and keeps its place inside the pastry.
- **Lemon juice** A splash brightens the berry filling, cutting through the sweetness and enhancing the natural fruit flavors.
- **Powdered sugar** Forms the base of our smooth, sweet glaze, providing a fine texture that dissolves easily for a luscious finish.
- **Milk or water** Used to thin the glaze to your desired consistency, ensuring it drizzles perfectly over your cooled pastries.
- **Vanilla extract** A touch of warmth and aromatic sweetness for the glaze, complementing the fruit filling beautifully.
All ingredients with their exact quantities can be found in the recipe card below.
Step-by-Step Instructions
Here’s a simple guide to help you prepare this delicious recipe:
Step 1: Preparing the Enriched Danish Dough
First things first, let’s get that yeast bubbly. In a small bowl, combine the warm milk, 1 teaspoon of the granulated sugar, and the active dry yeast. Give it a gentle stir and let it sit for about 5 to 10 minutes until you see a nice foamy layer on top, indicating your yeast is alive and ready to work wonders. While that’s happening, grab a large bowl and whisk together the remaining granulated sugar, your large egg, and salt until well combined. Stir in the activated yeast mixture. Now, gradually add the all-purpose flour, mixing just until a shaggy dough forms. Turn this dough out onto a lightly floured surface and knead it briefly until it’s just combined. Remember, a light touch is key for achieving a tender, flaky texture, so do not overknead it.
Step 2: The Art of Layering and Chilling
This is where the magic of flakiness truly begins for these Simple Berry Danish Pastries. Roll the prepared dough into a rectangle approximately 12×8 inches. Take your cold unsalted butter pieces, cut into ½-inch segments, and distribute them evenly over two-thirds of the dough. Carefully fold the unbuttered third of the dough over the middle section, then bring the remaining buttered third over that, creating three distinct layers. Gently press the edges to seal everything in. Rotate the dough 90 degrees. Roll it out again to a 12×8 inch rectangle, maintaining the rectangular shape. Fold it into thirds once more, just as you did before. Wrap the dough tightly in plastic wrap and refrigerate for a crucial 30 minutes. This chilling period allows the butter to firm up and the gluten to relax, which makes the dough easier to handle. You’ll repeat this rolling, folding, and chilling process two more times, for a total of 3 folds and 3 chills. After the final fold and chill, let the dough rest in the refrigerator for at least 1 hour, or even up to overnight. This extensive chilling is essential for that signature golden, flaky crust.
Step 3: Crafting the Sweet Berry Filling and Shaping Pastries
While your dough is busy chilling and developing its layers, you can prepare the delightful fruit filling for your Simple Berry Danish Pastries. In a small saucepan, combine the mixed berries (fresh or frozen work perfectly), ¼ cup of granulated sugar, 1 tablespoon of cornstarch, and 1 tablespoon of lemon juice. Cook this mixture over medium heat, stirring constantly, until it thickens beautifully and the berries soften, which usually takes about 5 to 7 minutes. Once thickened, remove it from the heat and allow it to cool completely. This step is important: cool the fruit filling completely before adding it to the dough to prevent the pastry from becoming soggy. When the dough is ready and the filling is cool, it’s time to shape your pastries. On a lightly floured surface, roll the chilled dough into a large rectangle, about 1/8 inch thick. Using a sharp knife or pastry wheel, cut the dough into 8 equal squares. Place a generous spoonful of the cooled fruit filling right in the center of each dough square. To create that classic Danish look, fold the corners of each square towards the center, overlapping slightly, to form either a pinwheel or a square shape. Ensure the vibrant fruit filling remains exposed in the middle.
Step 4: Proofing, Baking, and the Final Glaze
Once your pastries are beautifully shaped, carefully place them on a baking sheet lined with parchment paper, making sure there’s enough space between each one to allow for expansion. Loosely cover them with plastic wrap and let them rise in a warm place for 30 to 45 minutes, or until they look slightly puffy. This proofing stage is vital for a light and airy finished pastry. While your pastries are proofing, preheat your oven to 400°F (200°C). In a small bowl, whisk together the beaten large egg and 1 tablespoon of milk to create your golden egg wash. Gently brush the exposed dough of each pastry with this egg wash; it will give them that gorgeous, shiny, golden-brown finish. Now, pop them into the preheated oven and bake for 15 to 20 minutes, or until your Simple Berry Danish Pastries are beautifully golden brown and puffed up. Once baked, transfer them to a wire rack to cool down completely. While they’re cooling, prepare the smooth glaze by whisking together 1 cup of powdered sugar, 2-3 tablespoons of milk or water (adjust the amount to achieve your desired consistency for drizzling), and ½ teaspoon of vanilla extract until it’s perfectly smooth. Drizzle this sweet glaze generously over the cooled pastries before serving. This final touch adds a lovely sweetness and visual appeal, making them irresistible! Serve immediately to enjoy the delicate crispness and soft, warm berry center.
These delightful Danish pastries yield 8 servings, with each pastry providing approximately 380 Calories, 6g Protein, 50g Carbohydrates, and 22g Fat. Remember, for the best results, ensure your butter is very cold when incorporating it into the dough for optimal flakiness. Do not overwork the dough; a light touch is key for achieving a tender, flaky texture. And always cool the fruit filling completely before adding it to the dough to prevent the pastry from becoming soggy. Adjust the amount of milk or water in the glaze to achieve your desired consistency. Happy baking!
Mastering the Secrets of Cooking
For flawless results, strictly follow the folding and chilling schedule to build those incredible flaky layers. Always allow the fruit filling to cool completely before shaping your pastries. This prevents a soggy bottom and helps maintain the dough’s integrity, ensuring a perfect Danish pastry every time.
Make Your Recipe Unique
Want unique Danish pastries? Swap mixed berries for raspberries or blueberries in the filling. Add almond extract, not vanilla, to the glaze for an aromatic twist. Simple changes customize flavor profiles for your homemade treats, making them uniquely yours, anytime.
Smart Storage & Reheating
Preserve flaky goodness: store cooled, unglazed pastries in an airtight container at room temperature up to two days. Glaze just before serving. To refresh, gently warm in a 300°F (150°C) oven for 5-7 minutes. This brings back delightful crispness and warmth.
The Chef’s Golden Tips
I once baked these Danish pastries for a surprise breakfast, and my partner declared them ‘pure sunshine on a plate.’ Seeing that happy smile as they savored each flaky, berry-filled bite was absolutely priceless. It truly made my morning!
Final Thoughts
Bringing a batch of homemade simple berry Danish pastries to life is an incredibly rewarding experience, transforming simple ingredients into a golden, flaky masterpiece. The delightful contrast between the crisp pastry and the sweet, warm berry filling, finished with a smooth glaze, creates a truly irresistible treat. This recipe offers a clear path to achieving bakery-quality results right in your kitchen. So, gather your ingredients, follow the steps, and prepare to fill your home with the inviting aroma of freshly baked Danish. Dive in and discover the joy of creating these beautiful pastries for yourself and those you love!
Print
How to Make Simple Berry Danish Pastries | Recipe
- Total Time: 1 hour 5 minutes
- Yield: 8 pastries 1x
Description
This classic Danish pastry features a golden, flaky crust that encases a vibrant, sweet fruit filling. Each pastry is baked to a delicate crispness, offering a delightful contrast to the soft, warm berry center. A smooth, sweet glaze is drizzled over the top, adding a final touch of sweetness and visual appeal to this inviting baked treat.
Ingredients
- For the Dough:
- 2 ¼ teaspoons active dry yeast
- ¼ cup warm milk (105-115°F / 40-46°C)
- ¼ cup granulated sugar
- 1 large egg
- ½ teaspoon salt
- 2 ½ cups all-purpose flour, plus more for dusting
- 1 cup (2 sticks) unsalted butter, cold and cut into ½-inch pieces
- For the Fruit Filling:
- 1 cup mixed berries (fresh or frozen)
- ¼ cup granulated sugar
- 1 tablespoon cornstarch
- 1 tablespoon lemon juice
- For the Glaze:
- 1 cup powdered sugar
- 2–3 tablespoons milk or water
- ½ teaspoon vanilla extract
- For Egg Wash:
- 1 large egg, beaten
- 1 tablespoon milk
Instructions
- **Activate Yeast:** In a small bowl, combine the warm milk, 1 teaspoon of the granulated sugar, and the active dry yeast. Let sit for 5-10 minutes until the mixture is foamy.
- **Prepare Dough:** In a large bowl, whisk together the remaining granulated sugar, egg, and salt. Stir in the activated yeast mixture. Gradually add the all-purpose flour, mixing until a shaggy dough forms. Turn the dough onto a lightly floured surface and knead briefly until just combined. Do not overknead.
- **Incorporate Butter:** Roll the dough into a rectangle approximately 12×8 inches. Distribute the cold butter pieces evenly over two-thirds of the dough. Fold the unbuttered third of the dough over the middle section, then fold the remaining buttered third over that, creating three layers. Gently press the edges to seal.
- **First Fold and Chill:** Rotate the dough 90 degrees. Roll it out again to a 12×8 inch rectangle. Fold into thirds as before. Wrap the dough tightly in plastic wrap and refrigerate for 30 minutes.
- **Repeat Folds:** Repeat the rolling, folding, and chilling process two more times (for a total of 3 folds and 3 chills). After the final fold, chill the dough for at least 1 hour, or up to overnight.
- **Prepare Fruit Filling:** While the dough chills, combine the mixed berries, granulated sugar, cornstarch, and lemon juice in a small saucepan. Cook over medium heat, stirring constantly, until the mixture thickens and the berries soften, about 5-7 minutes. Remove from heat and let cool completely.
- **Shape Pastries:** On a lightly floured surface, roll the chilled dough into a large rectangle, about 1/8 inch thick. Cut the dough into 8 equal squares.
- **Fill and Fold:** Place a spoonful of the cooled fruit filling in the center of each dough square. Fold the corners of each square towards the center, overlapping slightly, to create a pinwheel or square shape, leaving the fruit filling exposed in the middle.
- **Proof:** Place the shaped pastries on a baking sheet lined with parchment paper, ensuring there is space between them. Cover loosely with plastic wrap and let rise in a warm place for 30-45 minutes, or until slightly puffy.
- **Preheat Oven and Egg Wash:** Preheat your oven to 400°F (200°C). In a small bowl, whisk together the beaten egg and milk for the egg wash. Gently brush the exposed dough of each pastry with the egg wash.
- **Bake:** Bake for 15-20 minutes, or until the pastries are golden brown and puffed.
- **Cool and Glaze:** Let the pastries cool on a wire rack. While they cool, prepare the glaze by whisking together the powdered sugar, milk or water, and vanilla extract until smooth. Drizzle the glaze over the cooled pastries before serving.
Notes
Ensure your butter is very cold when incorporating it into the dough for optimal flakiness.
Do not overwork the dough; a light touch is key for achieving a tender, flaky texture.
Cool the fruit filling completely before adding it to the dough to prevent the pastry from becoming soggy.
Adjust the amount of milk or water in the glaze to achieve your desired consistency.
- Prep Time: 45 minutes (plus chilling time)
- Cook Time: 20 minutes
Nutrition
- Calories: 380
- Fat: 22g
- Carbohydrates: 50g
- Protein: 6g
FAQs
How important is chilling the dough throughout the Danish pastry making process?
Chilling the dough is absolutely critical for achieving the characteristic flaky layers of these Danish pastries. After incorporating the cold butter pieces into the dough and completing the initial fold, the dough is refrigerated for 30 minutes. This process of rolling, folding, and chilling is repeated two more times, with a final chill of at least an hour, or even overnight. The cold butter remains distinct within the dough layers, preventing it from melting prematurely during handling. This meticulous chilling ensures that when the pastries bake, the butter melts and releases steam, creating those delicate, separate layers we all love.
What is the purpose of the egg wash applied before baking?
The egg wash, a simple mixture of one beaten large egg and one tablespoon of milk, serves several important purposes for your berry Danish pastries. Brushing it gently over the exposed dough just before baking helps create that beautiful, golden-brown crust and a slightly shiny finish on the pastry’s surface. It contributes to an appealing visual presentation, making the pastries look professionally baked. Beyond aesthetics, the egg wash can also help the dough puff up nicely in the oven and contributes to a subtle richness in flavor on the exterior of the pastry.
Can I prepare the Danish pastry dough in advance?
Absolutely! The recipe specifically allows for advanced preparation of the Danish pastry dough, which can be very convenient. After completing the final rolling, folding, and chilling process (the third fold), the dough needs to chill for at least one hour. However, you have the option to extend this chilling period significantly, up to overnight. This flexibility allows you to break down the preparation steps, making the process more manageable for busy schedules. When you’re ready to bake, simply remove the dough from the refrigerator and proceed with shaping your pastries.
Why is it important to cool the fruit filling completely before using it?
Cooling the fruit filling completely before adding it to the shaped dough squares is a crucial step to ensure the best possible outcome for your Simple Berry Danish Pastries. If the filling is still warm when placed onto the raw dough, it can cause the cold butter in the pastry dough to melt prematurely. This would compromise the flaky texture that the careful folding and chilling steps are designed to achieve, potentially leading to a soggy or less airy pastry. A completely cooled filling helps maintain the integrity of the dough and contributes to a beautifully crisp and distinct pastry base.